Philipp Spoeth has introduced an upgraded version of the popular freeware filter, Sinedots, at www.philipp-spoeth.de Sinedots II features an improved interface, colour support and blend modes.
Download and install the plugin in the Plugins folder of your host application, or preferred subfolder, if that’s your normal configuration routine. Look for the plugin in your Plugins menu, in the Dragonfly category. When the filter is open, you’ll see this interface –
This screen capture shows a preset loaded, though the first
time you load the filter, you won’t have these settings.
The Preview pane, shown here on the left, is “floating”
and resizable. You can drag it all
over your monitor. The interface is
separate, and it too is a floating palette.
To get you started quickly experimenting with this filter,
slide the inner density slider all the way to the left, and the outer density
all the way to the right. (You can also input numeric values directly into the
boxes, but we are setting the interface to it’s most basic settings, in order
to start fresh.)
Don’t bother with your add factor till you get a design
you like. The add factor adds
colour to your design, so it won’t do too much till you get a good design.
Set your x and
y weights in the center of each slider, to 0.
Begin by setting all your offset values to 0, which will
also change the dial faces (they are like clocks, only they measure degrees of
offset. 0 = 0 or 360 degrees.
90 will put the slider in the 3 o’clock position, 180 will be 6
o’clock, etc.)
Change all your inner and outer number of repetitions
(first box) and angle (second box) to 0.
Leave your gamma at 1.
The blend modes don’t work exactly like blend modes in
PSP or Photoshop. Sinedots II
actually produces an RGB image of a sine-type curve or curves on a black
background. That is the
“normal” setting. However, if
you use some of the blend modes, but not ALL, you can apply the filter as if to
a transparent layer. “Screen”
or “overlay” work well for this. Some
of the other blend modes also affect the colour of the image.
Click on the colour bar to open a standard Windows colour
picker. The colour and blend mode
will become part of your final preset.
Once you’ve picked a colour and blend mode to start,
begin manipulating the sliders and dials to give you an effect you like.
Change the number of inner and outer angles to give you a more complex
curve.
There's also the ever-popular Randomize button! Clicking on this will change the offsets and slider values, but not the colour or blend mode.
When you find a pleasing design, you will want to save your preset. The first time you save a preset, you have to click Open to specify the name and position of a new Settings file ( a .cfg file.)
Type in a new file name, like MySinedotsPresets and the new settings file will be generated. You can trade settings files, here’s one of mine….
Unzip it to wherever you like to store your
presets, and then open it in Sinedots II using the Open dialog.
Pushing the save button will bring up a dialog to name a
specific setting to be contained in the settings file.
Each settings file can hold a number of presets (not sure at this time
what that limit is!) To load a preset, select an entry from the dropdown
box.
You can open the setting files in Notepad and read their settings. These can be copied and pasted to a new .cfg or you can just send the entire .cfg file.

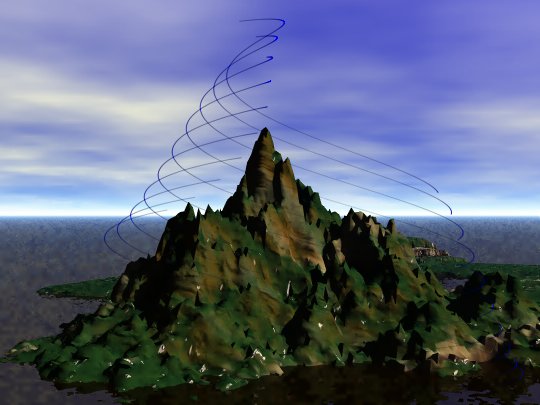
The above settings produced a swirl effect that I added to this simple Bryce scene...
Once you have an effect you like, try applying the preset over itself, altering colours or blend modes. This effect was achieved by applying the sb_Lily1 preset several times, in different blend modes -
This one uses my sb_LatticeSphere1 preset on a new layer above the original image. After the filter was applied, I selected the outside of the sphere, activated the image layer, deleted the outlying image edges, inverted the selection, activated the latticesphere layer, colorized the lattice lines to co-ordinate with the image, and exported it as a transparent gif.
Have fun making your own presets, trading them, and adding the results to your images!
Want to learn more about Photoshop-compatible plugins? Check out the Filter Frenzy series of classes at www.lvsonline.com .
While you are at it, drop by the PSP Vector Toons, FrontPage 2002, and Xara X classes!
The graphics and text on this site are copyrighted by Sally Beacham and dizteq.com, unless otherwise noted. Please do not take any images or text, without written permission, unless it is specifically made available within this site for download.
© 1999-2001 dizteq