| |
|
||||
|
|
|||||
|
|
|||||
|
|
|||||
|
|
|||||
Paint Shop Pro X
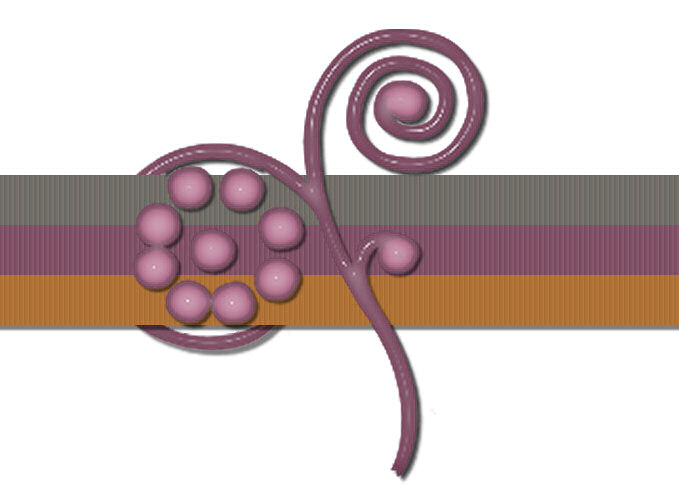
Here's my favorite trick for making ribbon look like it's threaded
through some sort of hole, clip or frame. (This works for anything you need to make appear
as if it is going "through" something else.) Let's say you want to layer a doodad over a ribbon so that part of the
doodad is tucked behind the ribbon (like a paper clip might be partially in
front of and partially behind another object.) |
|||||

|
|
1. Open both your ribbon image and your doodad image. Copy the doodad image and paste it to a new layer in the ribbon image. Drag the doodad layer UNDER the ribbon layer in the Layer Palette, but do NOT touch it in the image itself, yet.
2. Copy the doodad again to a new layer, this time OVER the ribbon layer. The second doodad will be copied in the exact same position as the first. So now you have a little sandwich - Doodad Ribbon Doodad. (That's kinda catchy, isn't it... all the doodad dayyyyyyyy... oh be quiet.)
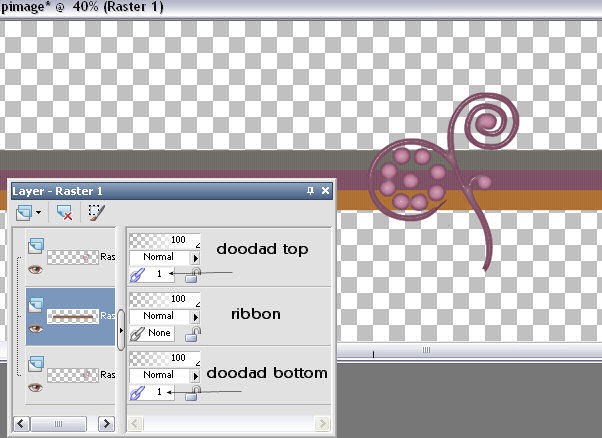
3. Now, change the layer link toggle on the two doodad layers to "1" - as
indicated in the image above.. Just click on the spot where
normally it says "none" and the number will change to "1." (If you have a
second set to link, you can change that set to "2".) This will link those
two layers so they can be moved as one. Now - important bit - grab the
MOVER tool.... NOT the Pick tool. The Pick tool in PSP X will move one
layer independently, but the Mover tool will maintain the linked positions.
SO ... with the Mover tool, move your doodads to where-ever you'd like them
along the length of ribbon.
4. If you need to rotate the doodad, you WILL need to use the Pick tool. Set
the angle of rotation manually in the Tool Options, rotate one doodad, then
move to the other doodad layer and rotate it using the same settings. Make
sure you go BACK to the Mover tool if you need to move the doodad after you
rotate it.
5. Make sure you have the TOP doodad layer as the active layer. Now, grab your Eraser tool. All you really need to worry about is setting the size appropriately for the image you are working on - otherwise, the default Eraser settings are mint. Now, just erase where you want the doodad to appear to be UNDER the ribbon. You don't even have to be overwhelming precise about the outside edge because guess what? That second copy of the doodad is UNDER the ribbon already, so if you over-erase at the edge of the ribbon, the bottom doodad will show through. Just don't erase anything that needs to be on TOP of the ribbon.
|
|

6. Add shadows after (but before you merge anything.) Often I only need to add
shadows to the bottom doodad, and the ribbon. But sometimes (like this
time) I need to add shadows to the top doodad as well, so watch those
carefully, that's when some little un-erased bits might crop up to bug
you.
|
|
© Sally Beacham and Dizteq.com 1999-2006