| |
|
|||||||||
|
|
||||||||||
|
|
||||||||||
|
|
||||||||||
|
|
||||||||||
Paint Shop Pro X
|
||||||||||

|
|
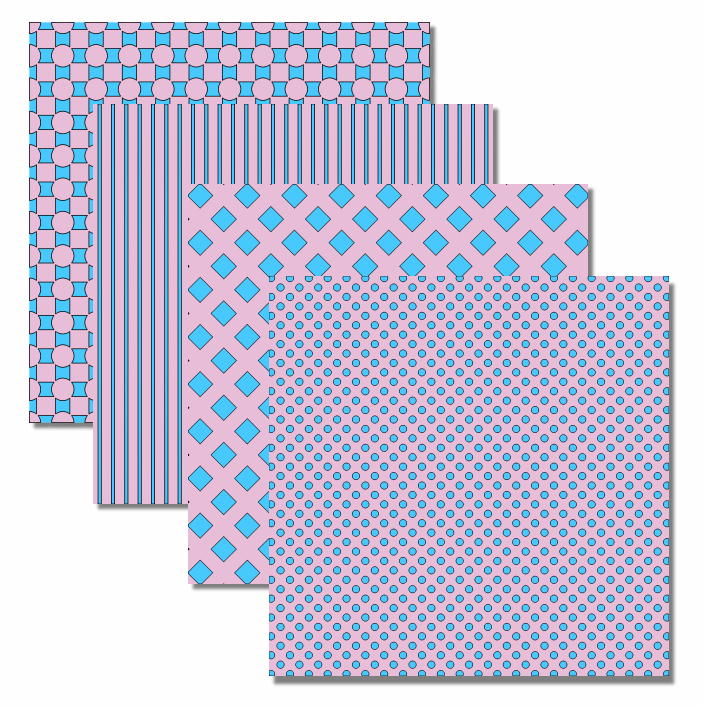
*The Halftone Effect creates dots, stripes and block patterns. The size of the dot pattern is partially determined by the Lightness value of the original image background color. Lower Lightness values will equate to larger dots placed relatively closer together, than a pattern created on a background with a higher Lightness value.*
1. Let's begin by creating a new image, 2400 x2400 pixels, 200 pixels per inch, background color of your choice. Go to Effects>Artistic Effects>Halftone.
Set the Halftone pattern to Round for a polka dot pattern. (You can easily create stripes or blocks by choosing the "line" or "square" pattern options.)
|
|
The size of the dots can be modified with the size control. "Screen angles" will change the orientation of the dot pattern - for aligned rows of dots, set the angle to "0." For offset rows of dots as I show here, set the Screen angles to "45." (If you are creating stripes, an angle of 0 will yield vertical stripes, a setting of 45 creates diagonal stripes, and 90 makes horizontal stripes. If you are creating a block pattern, an angle of 45 will create diamond shapes in offset rows.)
Make sure you are set to "Greyscale" as the Color Scheme. If you want the dot pattern applied to the existing background color, leave the "Background" setting as transparent. If you'd like to change the background color completely, uncheck the "Transparent" box and assign the color of your choice to the Background color swatch. The Ink color swatch should be your desired dot color.
If you check the "Use as overlay"
box, you can use several Blend modes to
affect how the dot pattern is applied to
the underlying background. The Opacity
numeric control affects the .... opacity
of the dot pattern. (Funny how that
works!)
Click OK to apply the effect once you're happy with it. You can add multiple effects to create other patterns - here's a pattern created with the square option first, then a dot pattern added by applying the effect a second time.
|
|
2. Once you've got your pattern(s) you can add a little definition to the design. With the Magic Wand tool options as shown below, select the dots (or blocks, or stripes!)
|
|

3. Once the dots are surrounded by the blinking selection marquee, go to Selections>Modify>Select Selection Borders.
|
|
This will create a selection around the perimeter of the dot pattern. Click OK to apply the modification.
4. Activate the Flood Fill tool and set the Foreground color in the Materials Palette to Black. Set the Tool Options for the Flood Fill tool as indicated below. (Don't be confused by the appearance of my Tools toolbar - I've customized it for my use in PSP X. )
|
|
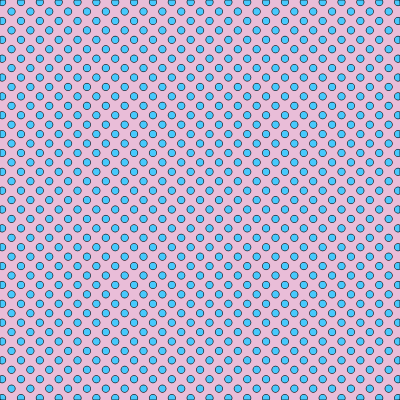
Fill the selected areas in the dot pattern image with black. This should result in a black "ring" pattern around each dot.
|
|
All of the patterned backgrounds below were created with the Halftone Effect in mere seconds.
|
|
We'll talk about what file format to save these backgrounds in, next!
© Sally Beacham and Dizteq.com 1999-2006