
|
|
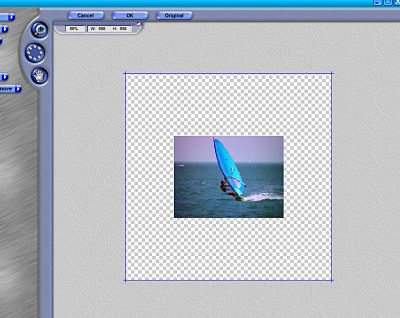
Frame TipsThese pages will cover the necessary setup to get the best results from the following DreamSuite Series 1 and 2 effects: 35mm, 2¼, 4x5 Frames in addition to Film Art, Film Strip and Photo Border. How to SetupYou will want to work with your image on a layer. This will give us the most flexibility in the arrangement of our final results. Use whatever means your program does to change from a background layer to a standard layer. The next step is to increase the area around the image in our application. This will allow room for sizing and placement of multiple effects. This can be accomplished by increasing the canvas size, the method of which will depend on your graphics application. As for the amount of area needed, this will depend on what you want the final product to look like. Think about what you will need in terms of placement, the number of effects you wish to have and the size of each image. The image below shows an example of the extra space added to our image. |
|
 |
|
|
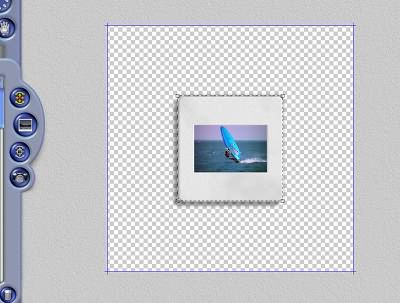
At this point, I recommend you save any additional photos you wish to use in this effect in a loseless format such as psd or tiff. Also, make a note of where you have saved them, as you will need to load them from inside of DreamSuite later in the process. The next step is for us to start DreamSuite and pick our effect. I will use the 35mm Frame in this example, but all of the frame effects will work in the same manner. We are now ready to apply our chosen effect as shown below in the example. |
|
 |
|
|
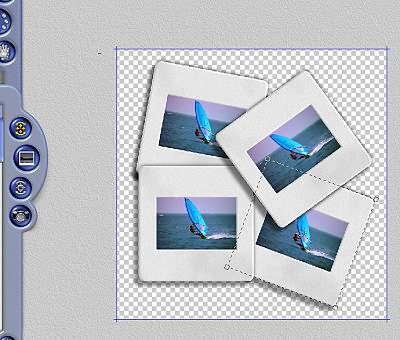
We are now ready to put the finishing touches on our project. The next steps are to size both the image inside the frame and the frame itself. This is done with the Transformation Tools that are covered elsewhere in these tutorials. After we have our master image laid out the way we want, we will then clone three copies of it. To do this, pick the Clone tool, click on the master image, then click and drag where you want a clone placed. You will need to repeat the previous steps for each clone desired. We can now use the Transformation tool to rotate each image. we'll also use Edit>Move to Front or Back options, to give a stacked look. You should have something like the image below. |
|
 |
|
|
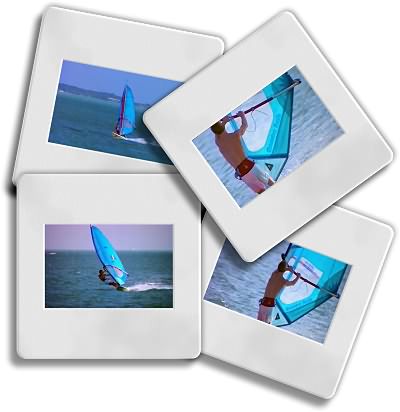
The next step is change the three cloned images. To do this click on the Load Photo tool, then click on the image you wish to change. You will then get a menu that will allow you to load a new image that you have previously saved. Once you are satisfied with your results, you can then us File>Save, or click on the OK button to apply the effect to your image in your application. Below is the final result of this little project. | |
 |
|
|
|
|
|
By Joe Cilinceon, © August 4, 2002 |